How well do your boots fit your ride?
Whether you ski, ride, nordic or tele, having the right boot fit can make the difference between a good day and a great day. It can accelerate your learning curve, prevent injuries, keep you warm and make you more comfortable. Not all feet are made the same and neither are ski boots. Good fit requires time and patience (lots of both). Here are a few tips for better fit.
What kind of a skier/rider are you? Recreational, competitive, racing, extreme? How you’ll use the boot will often determine the type of boot that is appropriate for you. In my opinion, you should get a boot that is a little above your ability (unless you are not interested in improving your skiing and/or riding), so that you will improve and “grow into” the boot. This will ensure that you’ll continue to improve in your snowriding abilities. Boots are very high tech these days and a subtle change in stiffness or angles can make a drastic difference in your skiing/riding.
The first thing you need to do is look at your feet. Are they feet to the same from side to side (ie. same size and shape)? These are the platform for the rest of your body. What happens down there will affect everything else. Take a good look at your feet while you are standing. Are there bunions, calluses, hammertoes (toes curled under), or a Morton’s toe (2nd toe longer than your big toe)? Do you pronate excessively while standing or walking (this will look like your arches are collapsing)? What is the relationship of the forefoot (front of your foot) to the rear foot (is the ankle sideways when viewed from behind? It should be neutral without your heel turning in (inversion) or turning out (eversion). The forefoot (front of your foot) should be flat on the ground. Does your ankle bend back as far as it should (this is called dorsiflexion). This will have an effect on the forward lean of the boot. Are you bowlegged or knock-kneed? This will cause you to ride on the outside or inside edge of your ski/ snowboard.
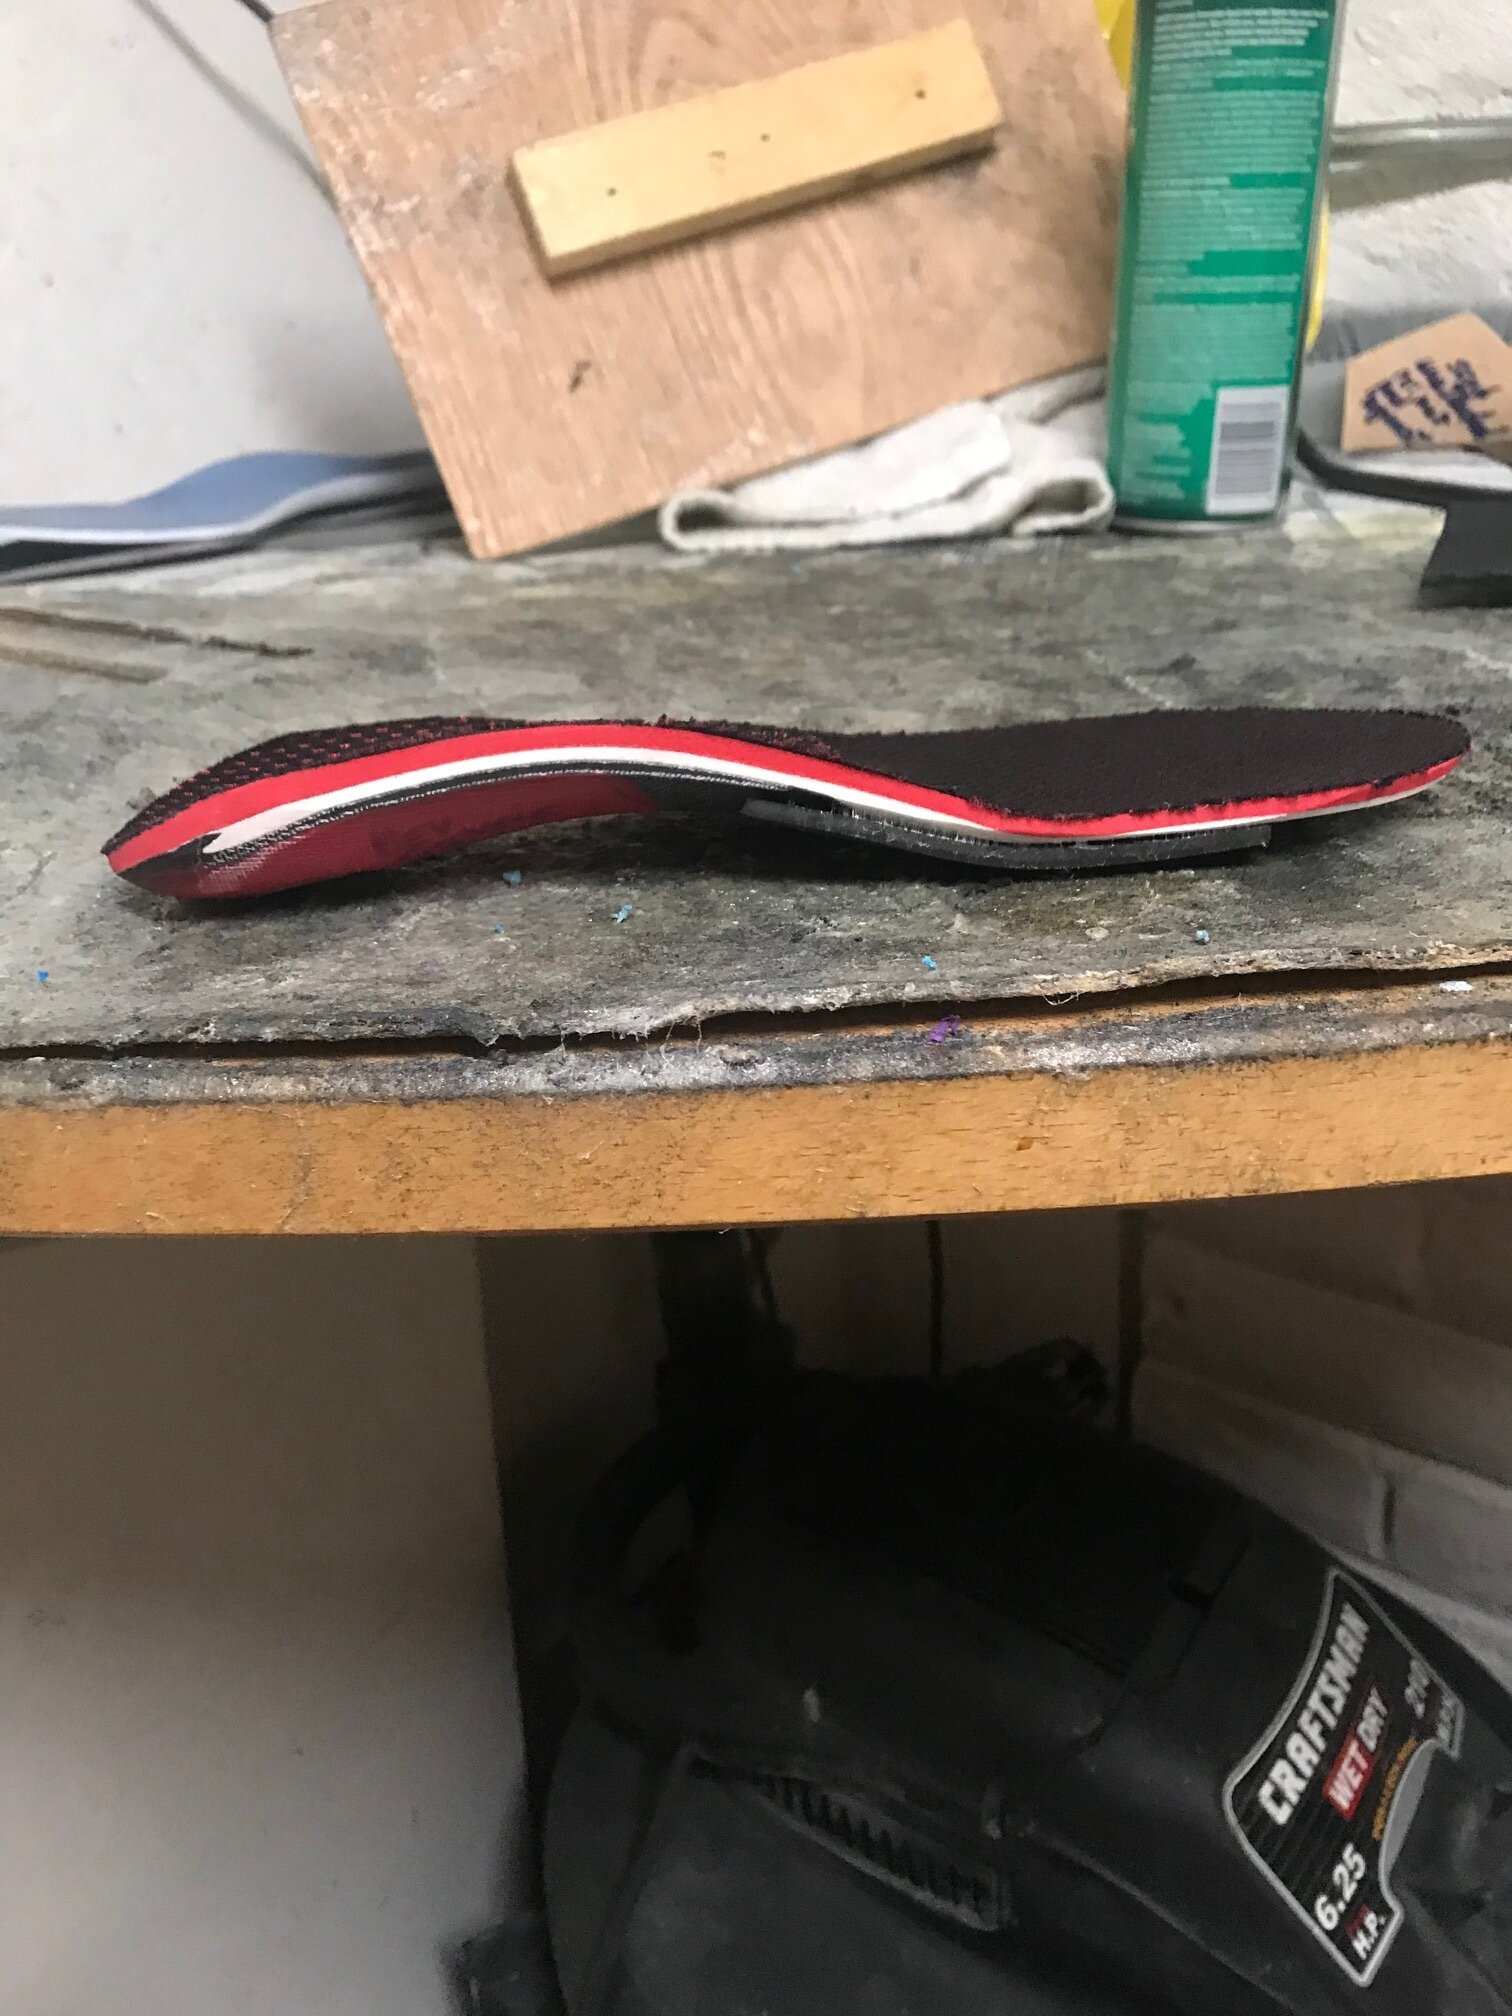
If you pronate excessively, have increased or decreased flexibility in the forefoot, rearfoot or big toe, have bunions or hammertoes, or are excessively bowlegged or knock kneed, proper fit and comfort while skiing will probably require a full contact orthotic or footbed. Hard deformities, such as bunions, may require liner and or boot shell modification.
Good socks are next on the list. Wool or wool blend socks are best. The intertwining fibers of wool create air pockets, which make it both insulating and breathable. Wool absorbs sweat in its vapor state, before it liquefies, keeping you dry. It utilizes your own body heat to evaporate the moisture. This also helps to eliminate odor. No cotton socks, as they hold moisture, often creating blisters and providing a breeding ground for bacteria that cause odor; no multiple pairs, as they make feet cold. Remember, thin is in… let the liner do its job.
Have your foot measured utilizing a Brannocks device in a standing position. Remember that your arch will flatten as you put weight on it. Remembering that the foot elongates with weight on it, will be useful for the next step.
Next you need to have the right sized ski/snowboard boot shell. This is as important for hard boots as soft boots Take the liner out of the boot and put your foot inside the shell so that your toes are just touching the front of the shell. There should be approximately ½ - ⅝ of an inch (two crossed fingers thickness) behind the ankle to the back of the shell. More than ¾ of an inch will cause too much heel rise once the shells are “packed out”. There should be ¼ - ⅜ of an inch space between the feet and the side shell of the ski boot.
Now comes the liner. The liner should fit snugly. Very snugly. There should be no pressure spots anywhere on your foot. Put in your foot bed or custom orthotic if available, before sizing the shell. Remember that you’ll gain between ⅛ and ¼ of an inch of space with break-in when the liners “pack out”.
Buckle the boots loosely and flex the boot forward. This will help to “seat the heel”. Remember that if the you cannot flex the boot at room temperature, you will not be able to when the plastic is very cold. Now that the heel is seated, buckle the boot more firmly. They should not be on the last buckle.
Now simulate some ski/ride movements. If the boot is relatively comfortable, proceed to the next step otherwise repeat with different shell/liner size.
The cant of the boot (cuff alignment) needs to be adjusted next. This needs to be done by someone other than yourself (because you are standing in the boot). A plumb line dropped from the knee should pass between your second and third toe. This ensures an even transfer of weight from edge to edge. Most boots are built with about 4 degrees of varus (lateral cant). If you are not able to adequately align the foot, consider orthotics or having the boot shimmed. Remember that boots with higher cuffs will have more of an effect on your stance.
Most boots provide between 12-16 degrees of forward lean. If there is less than 12 degrees, consider a heel lift to place your body weight forward. Remember to consider how much ankle dorsiflexion you have.
Once these adjustments are made, simulate skiing/riding movements in the shop for at least an hour. Remember that ski/snowboard boots are made for snowriding, not walking. Now remove the boots and socks and look for “hot spots” on the feet that will show up as red marks. These may represent areas in the boot liner or shell that need to be stretched and/or fitted better.
Well. There you have it. Now you know lots more than you knew when you began this article. As you can see, it is a very time consuming and labor intensive ordeal. Often times, people need professional help with the whole process and often require a foot bed or full arch contact orthotic. Become familiar with your own feet and then become familiar with the people or shops that do good boot fitting (ask around) and consider enlisting their help on your journey to the perfect boot.
The Gait Guys. Making it real…here….on the blog…with every post…